August 13, 2025 / Morris Norman
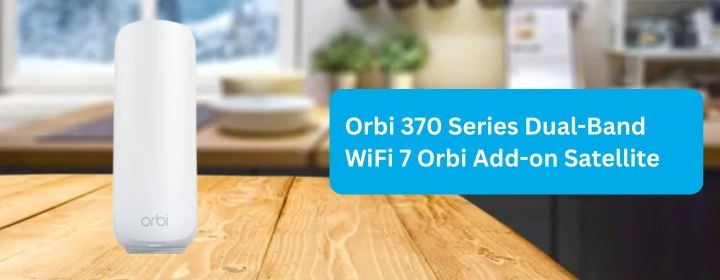
Orbi 370 Series Dual-Band WiFi 7 Orbi Add-on Satellite
It is so simple to add an Orbi satellite with already set router in home. there are different methods and all are pretty easy.
Here we describe all one by one: Sync button, Orbi app, & Orbilogin.net. There is another as well which is Ethernet backhaul in this method you need Ethernet cable.
So, let’s dive into this Orbi Add-on satellite tutorial.
Orbi Add-On Satellite (Series 370) with router
Via Sync Button
Plug the satellite in. Not halfway, not dangling in an outlet you think works — actually in a good socket. Wait. That little power LED on the back should light up. You will see the Orbi satellite flashing white light means it’s starting up.
- Put it where you want it. Don’t do the “right next to the router” thing unless you’re testing. Put it where it’s actually going to live. You’ll get better results that way — you want it to sync where it’s going to stay.
- Hit sync on the router first. This is important. On the main Orbi, find that little sync button on the back. Press it. You don’t need Hulk strength just a quick press until the sync LED starts blinking.
- Then hit sync on the satellite. You’ve got about 2 minutes to do it after hitting the router’s button. Press the satellite’s sync button. Same thing — gentle press.
Wait for the light show. The satellite will blink, think about life, and then go solid blue if it’s happy. Amber means “close enough,” and magenta means “nope, not connecting to the router.” If you get magenta, move it closer and try again.
Via Orbi app
Open the Orbi app. If you don’t have it yet, download it from the App Store or Google Play. Log in with your Netgear account.
- Once you’re in, tap the little menu icon in the top-left. Go to Add Satellite. The app will basically walk you through it, but here’s the part it doesn’t make super clear:
- When it says “press sync on both devices,” hit the sync button on your main Orbi router first, then immediately press it on the satellite. You’ve got about two minutes before they give up trying.
- Watch the light on top of the satellite. If all goes well, it’ll go from blinking white → solid blue. Blue means “good connection.” Amber means “connected, but still works.” Magenta means “nope, still not connected.”
- If you get magenta after all this, just reset the satellite (hold sync 10 seconds again) and try the sync steps one more time. Sometimes it takes a second try.
- Once the light goes blue, you can unplug the satellite and move it to wherever you actually want it. Just give it a minute or two to reconnect when you plug it back in.
And that’s it. It can took 15 minutes the first time, 3 minutes the second time. Biggest thing is—do the sync button thing in the right order and be patient with the lights.
Via Orbilogin.net
Your router and satellite need to be in the same room at first. I know you want it in the other side of the house, but just bring it close for setup. Trust me, it’ll sync faster and save you the rage.
- Now, on your laptop/phone, connect to the Orbi Wi-Fi. Doesn’t matter if you normally use ethernet – do Wi-Fi for this part.
- Then open a browser and punch in: orbilogin.net or, if that gives you grief, try the IP: 192.168.1.1
- You’ll get the Orbi admin login screen. Default is usually admin and whatever password you set when you first set up the Orbi. (If you don’t remember it… yeah, you’re resetting the router. Sorry.)
- Once you’re in, look for something like Orbi Add-on Satellite or Sync Satellite. There’s usually a big “Sync” button on the physical unit too. Press that on the router, then press the one on the satellite.
- Lights will do their thing; you want solid blue for a good connection. Amber means it’ll work but slower. Magenta… nope, it’s not connecting.
- After it’s synced, you can unplug the satellite and move it to wherever you actually want it. Just don’t put it behind a giant fridge or in a basement corner.
And that’s it.